Recipes

World's Best Cup of Hot Chocolate

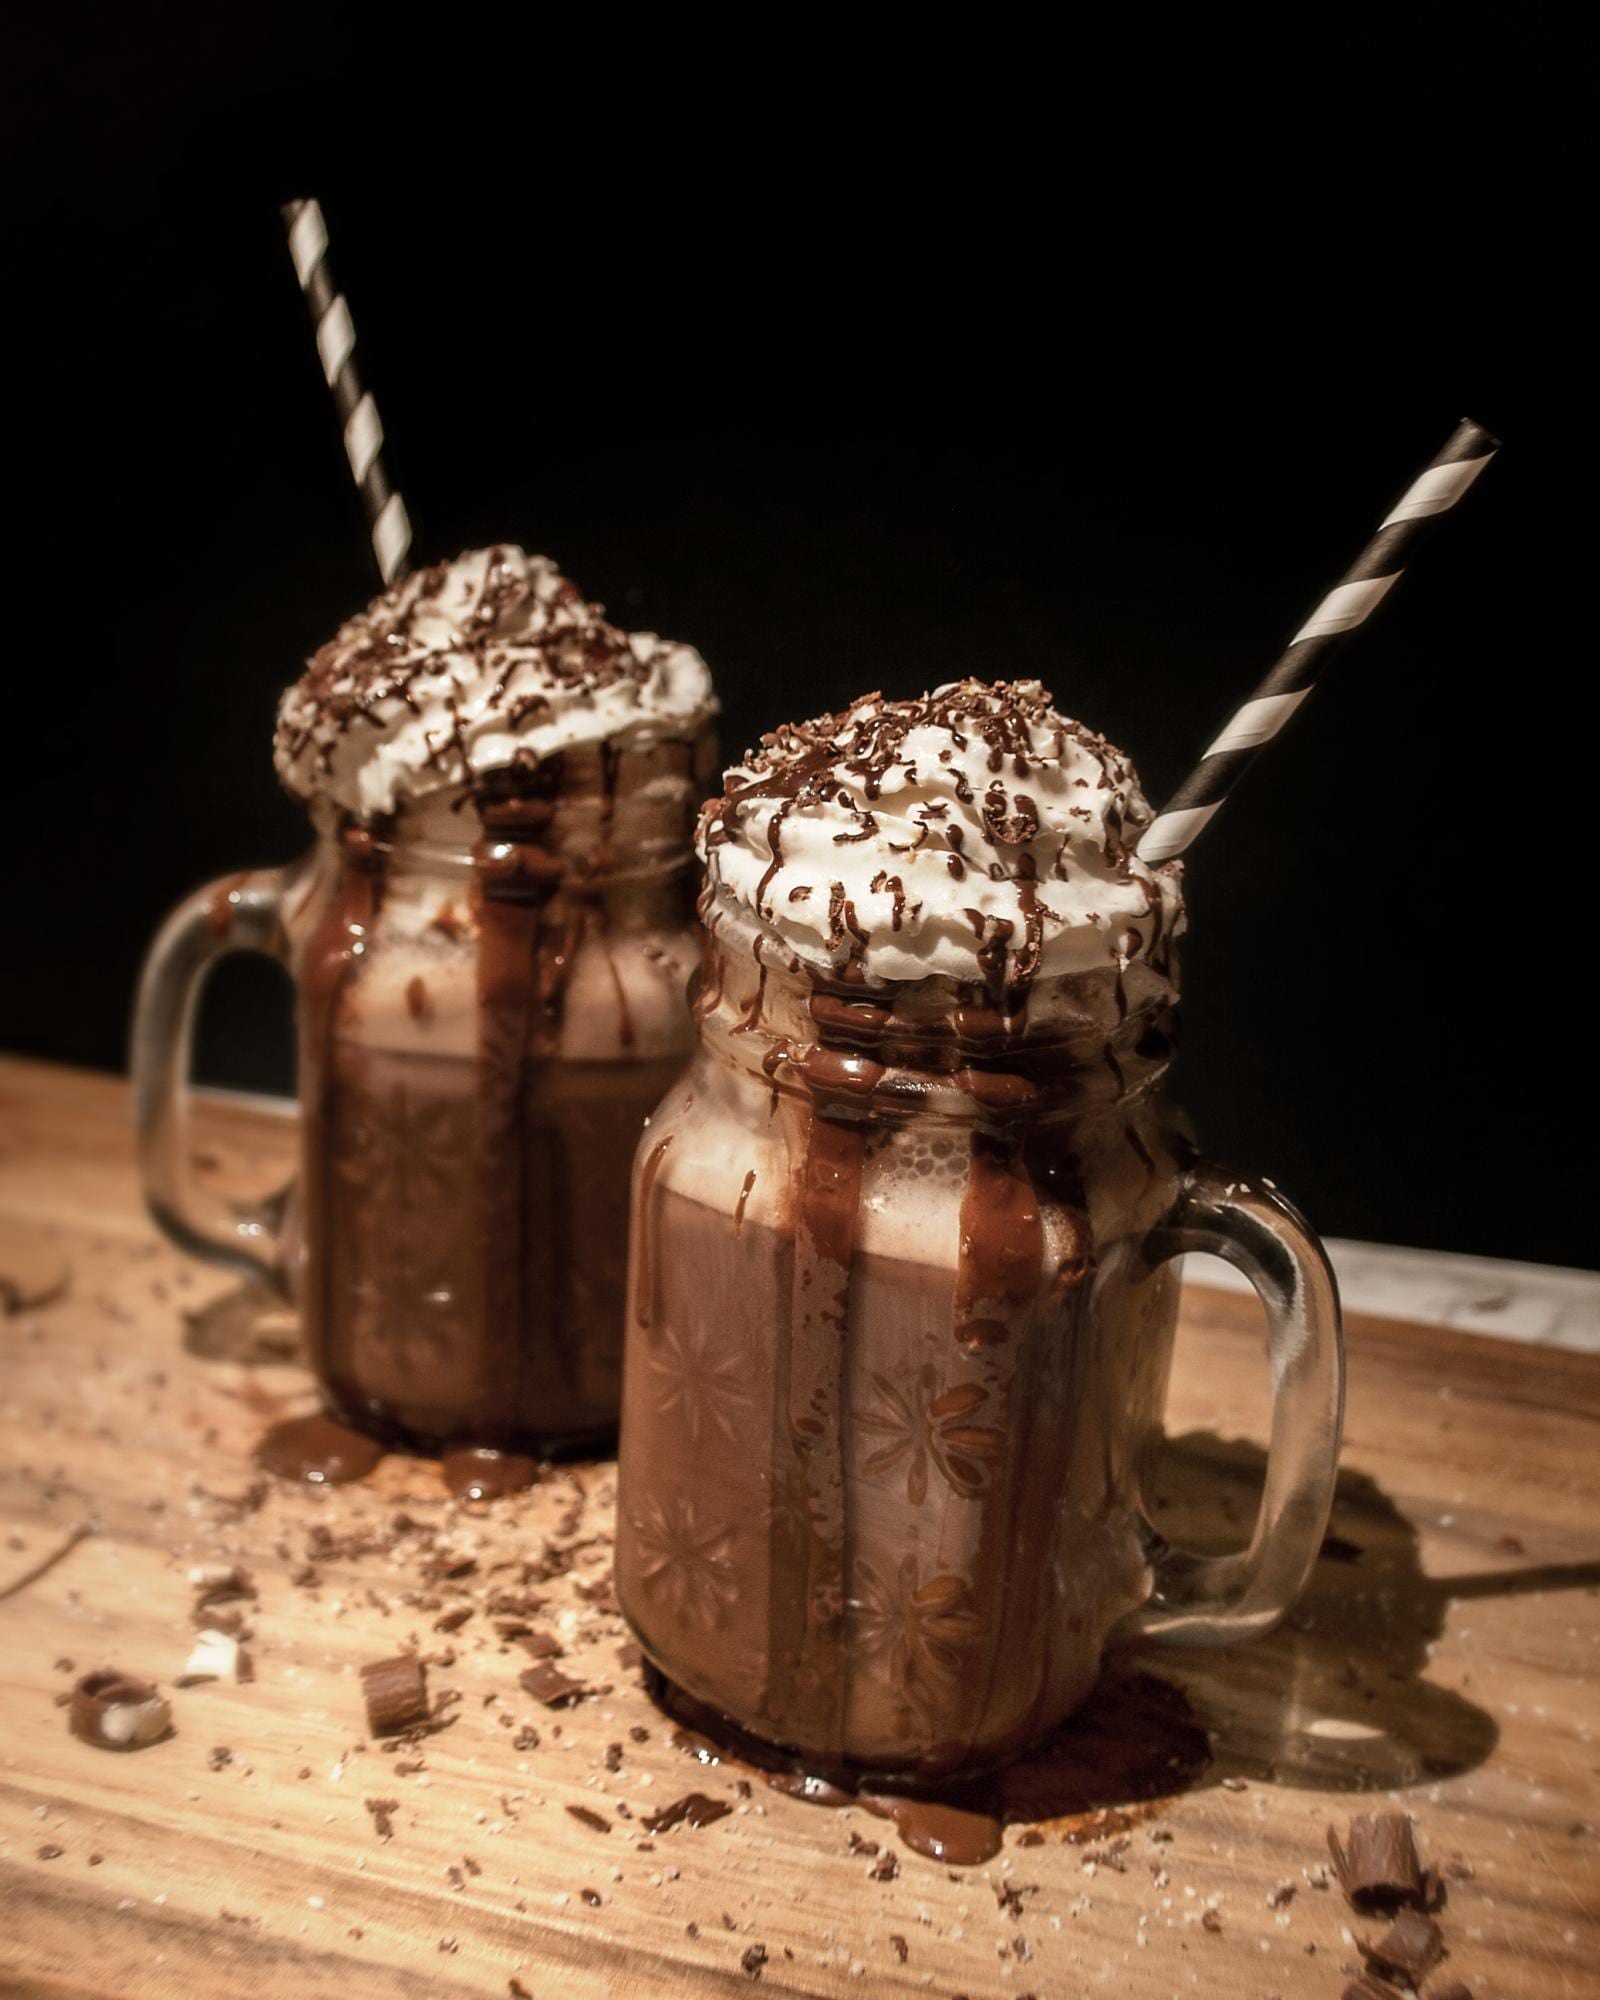
I called this the "World's Best Cup of Hot Chocolate" because of that coffee shop scene in the Christmas movie ELF—where Will Ferrel runs in and congratulates a small diner on their "worlds best cup of coffee" sign. The mental congratulatory phrase I gave myself after I made this elaborate looking image (above) was totally in his voice saying "You did it! Worlds best cup of coffee hot chocolate. Congratulations!" You probably have had to of seen the movie in order to get the reference. But seriously, if you celebrate Christmas, what the F*** have you been doing with your life if you haven't seen Elf yet?

Whereas the coffee from the movie was probably not super great, I think that this hot chocolate lives up to the hype. It's refined sugar and dairy-free, but alllll delicious goodness. This is another one of my healthier (yet indulgent) recipes that I really think people won't even know the difference. I hope you enjoy it this weekend over a Christmas movie (maybe Elf?), cozy up, and get into the festive spirit.

This recipe usually serves about four people. (Or, two people if using large mugs like in the image above). If you want to make a different amount, just divide down or multiply up the recipe to your desired serving portions.

I have listed the recipe in both American and Swedish measurements below. Enjoy!

Worlds best Cup of Hot Chocolate

Hot Chocolate Ingredients:

4 US cups (1 liter) non-dairy milk—I have used almond, coconut, and oat milk successfully. Just use whatever kind you like the best.

1/4 cup (0,6 dl eller 4 msk) raw cacao

3 tbsp (3 msk) organic honey

3 tbsp (3 msk) maple syrup

1/4 tsp (2 krm) vanilla extract

A tiny pinch of salt

And, whatever optional toppings of your choice: non-dairy whipped cream, chocolate sauce, chocolate shavings, sprinkles, marshmallows, caramel sauce, chopped nuts, cookie crumbles, etc.

Optional Chocolate Sauce Ingredients:

100g of milk-free or dark chocolate—I used a Reneé Voltaire coconut milk/sugar chocolate bar

18g coconut oil

Clear glass serving glasses (so you can see the drip effect inside the cups)

Hot Chocolate Instructions:

  1. Put all hot chocolate ingredients in a blender, blend until mixed. Sometimes I like to keep running the blender until the mixture develops a tiny bit of a froth on top (like you would get when you froth milk for coffee)—But, that is totally optional. It only works in some blenders and if your non-dairy milk is really cold. You can also use a handheld coffee frother to add a layer of froth on top of the mixture if that works better for you, or just skip the frothing entirely.

  2. Transfer the blended mixture to a large enough saucepan and warm on medium-high heat until slightly simmering. Once the mixture is warm enough to drink you can pour the mixture into glasses for serving. ....BUT, If you are going to make my optional chocolate sauce, I would just keep the mixture on low (to keep it warm) on the stove until you have completed the next steps for the chocolate sauce.

Optional Chocolate Sauce Instructions:

  1. Use a double boiler or make a makeshift one and fill the bottom layer with a bit of water and bring it to a boil.

  2. Break the non-dairy chocolate bar into a bunch of smaller pieces and place them in the top layer of the double boiler with the coconut oil.

  3. Heat and stir until melted and well mixed

  4. Coat the inside of your serving glasses with a few large drips in a pattern of your choice, reserving a little bit of the sauce for on top if you are going to have non-dairy whipped topping or marshmallows.

  5. Pour your hot chocolate in the glasses

  6. If topping with non-dairy whipped topping and/or marshmallows. Use some of the remaining chocolate sauce to lightly drizzle on top for a nice looking effect and serve.


Coconut Banana Pancakes

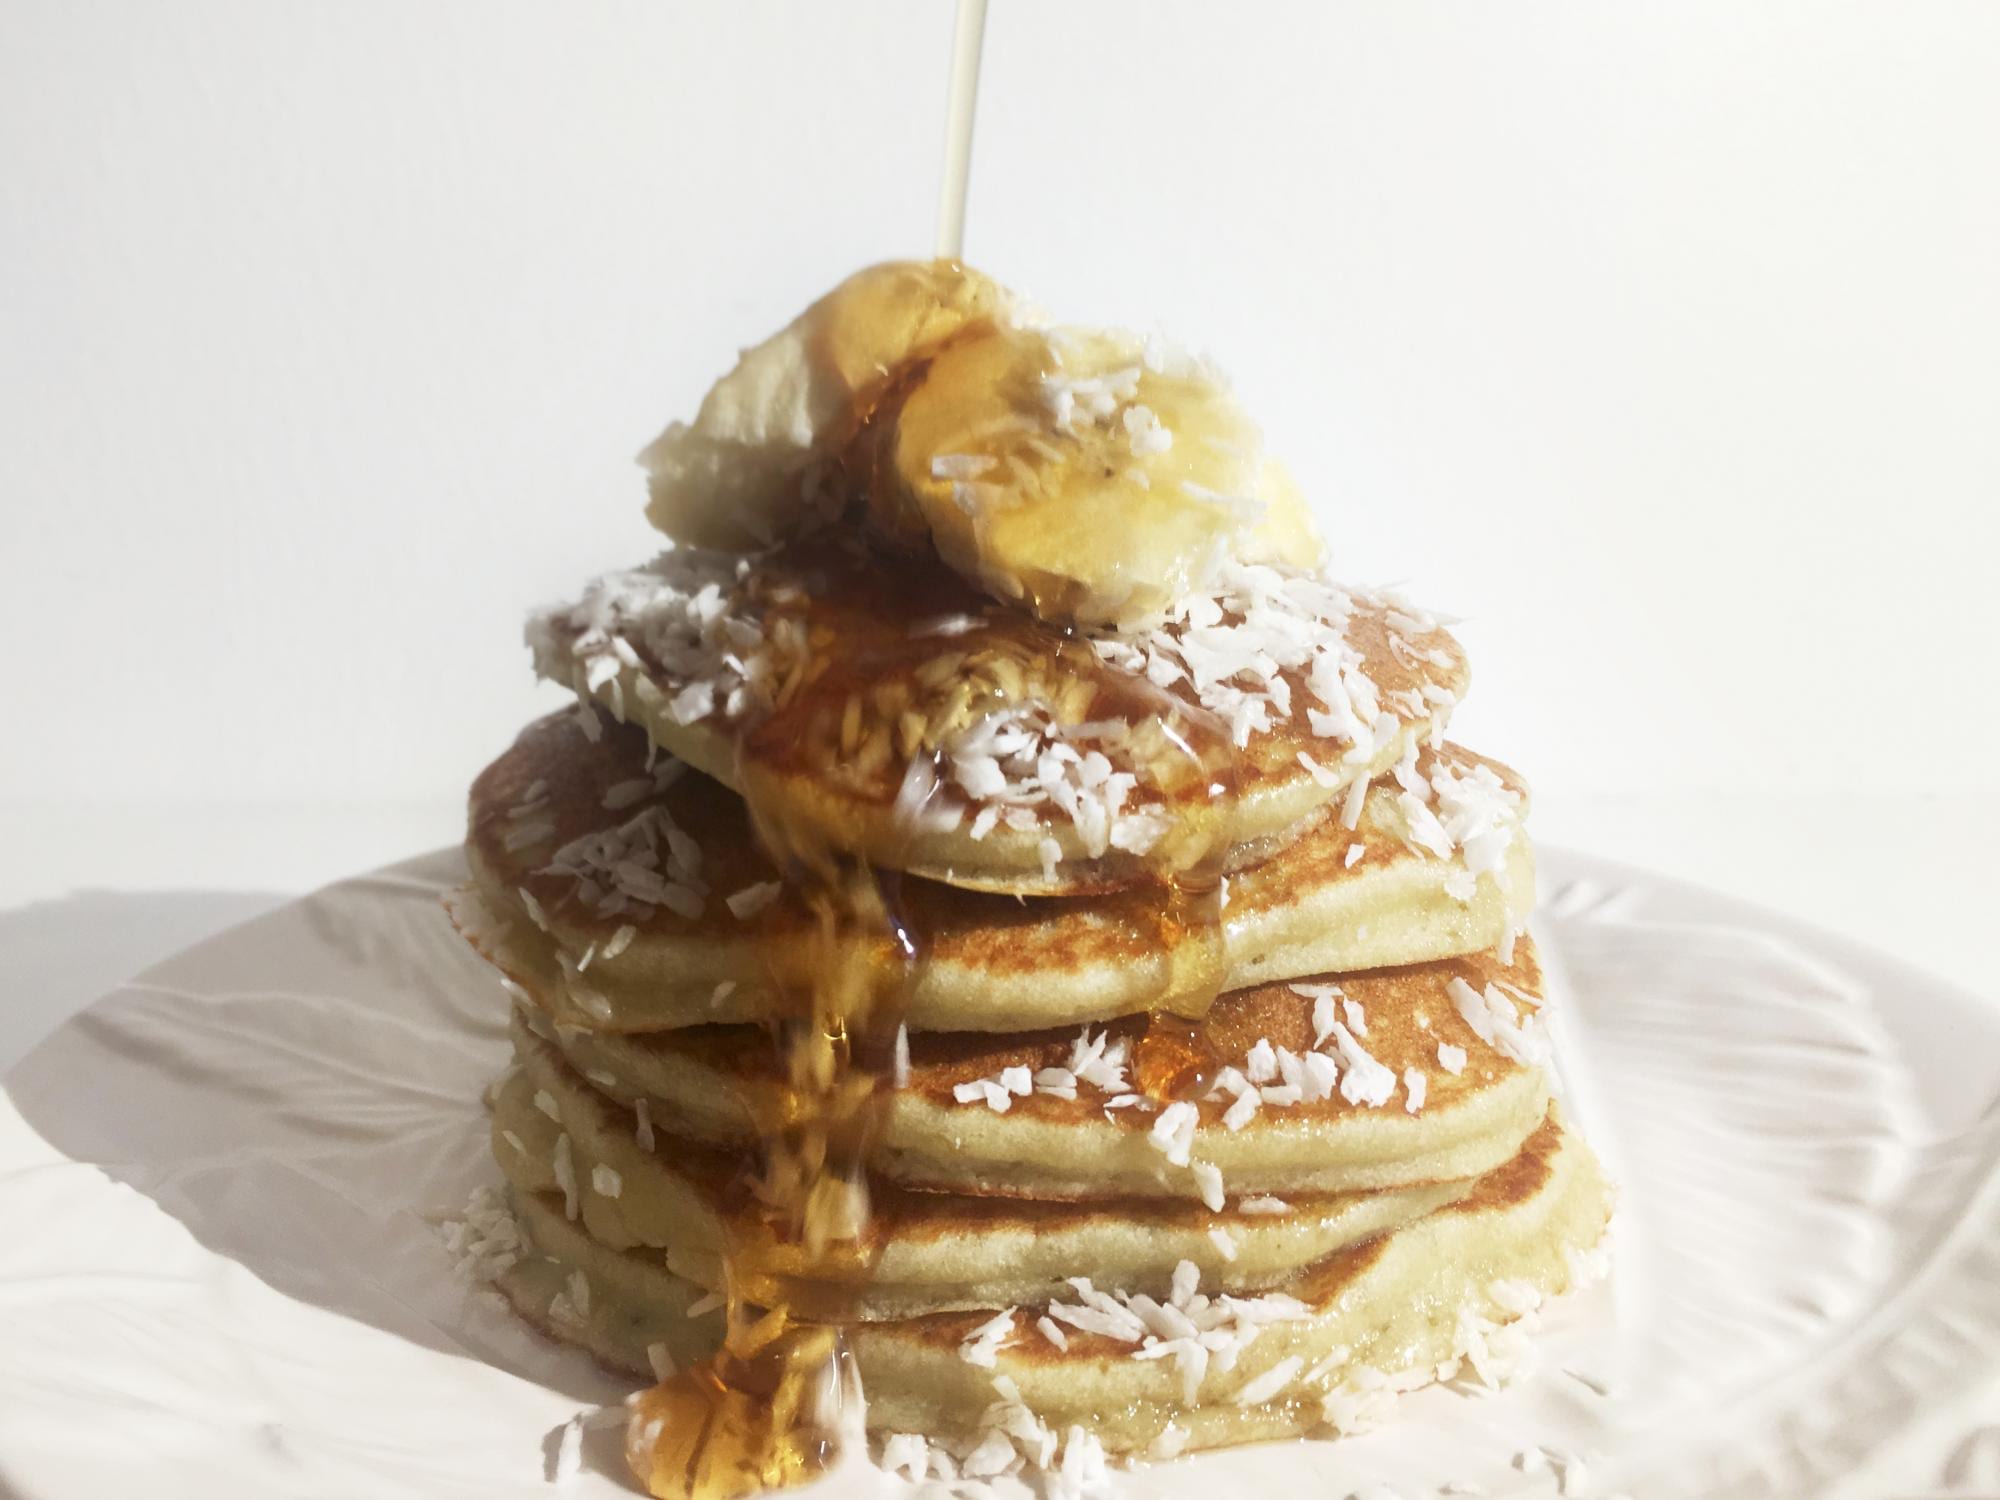
Happy "Fars dag" (Swedish Father's Day)! I thought it was a good time to share my favorite "Coconut Banana Pancake" recipe with you all—just incase anyone wants to suprise their dad with a heavenly short stack on his special day. These pancakes happen to be gluten, dairy and refined sugar-free, but are so good that no one would ever even notice the difference. Henrik, my partner, thinks that they may even be better than regular pancakes. And, he's a pretty tough pancake critic. I hope you all enjoy them as much as we do!

I have listed the ingredients in both American cups and Swedish measurements. This recipe makes about 16 medium-small pancakes and could serve four people easily.

"Coconut Banana Pancakes"

Dry ingredients:

3/4 cup (60 grams) coconut flour
3/4 cup (120 grams) gluten-free flour mix—I used “Lailas Mjölmix Glutenfri” 
2 tsp (2 teskedar) baking powder
1/8 tsp (about 1 finger pinch of salt) 

Wet ingredients:

2 tbsp (2 matskedar) organic honey
2 tbsp (2 matskedar) organic maple syrup
1/3 cup (70 grams) coconut oil for in the batter 
+1 teaspoon (1 tesked) coconut oil set aside for frying later
1 cup (2 dl + 2 matskedar) unsweetened non-dairy milk
1 medium sized banana 
1/4 tsp (1 krm) real vanilla extract
6 medium to large sized eggs  

1. Sift the gluten free flour mix if you can, this helps prevent clumping in the dough later.

2. Whisk all dry ingredients together in a large mixing bowl.

3. In a small pan at a very low temperature add the honey, maple syrup, coconut oil and non-dairy milk together.

4. In a small bowl mash the banana until somewhat smooth and then add to the pan. Once the coconut oil looks like it has melted and the only chunks in the batter are from the banana, remove the pan off of the stove to cool for a minute.

5. Whisk 6 eggs in a small bowl until well mixed and add them to the pan—When you do this, make sure the liquids in the pan are just slightly warm to the touch (not at all hot) because you don’t want to cook or scramble the eggs!

6. Then, pour the wet mixture into the dry ingredient bowl and mix well. Try to make sure there are no lumps left in the batter with dry flour. 

7. Heat a teaspoon (tesked) of coconut oil in a non-stick frying pan on medium-low heat.

8. Use a small to medium sized scoop and spoon your pancakes into the pan at your desired size (I used a Swedish "glögg" scoop and it made perfectly sized pancakes).

9. When very small bubbles begin to form along the edges, or the pancakes firm slightly, then it is time to flip them. (The first two pancakes are always a mess, so try not to judge your skills until the end.)

10. If the first two pancakes are too thick for your liking, you can add a bit more non-dairy milk (or even water) to the batter to thin them out slightly. Gluten free flour mixes tend to vary, so you many need to adjust the liquid amount slightly. 

11. There is no need for more coconut oil or butter in the pan after that first teaspoon. Pancakes actually come out smoother and more perfect looking, when there is less oil or butter in the pan. So, just scoop your next pancakes into the pan and repeat the process until you are out of batter.

12. When finished, serve with whatever toppings you like! 

Some suggested toppings: more bananas, coconut shavings, butter or margarin, jam, maple syrup, powdered sugar, peanut or almond butter, berries, chopped nuts, coconut “whipped cream”, ice cream, sprinkles, Nutella or chocolate chips.

A few of our family's tips for making perfect American pancakes:

Tip #1: My grandmother always used to serve her pancakes with melted butter in a little pouring dish (that was heated on the stove or in a microwave). We used to pour our butter on top right before the maple syrup! I now sometimes do this with vegan butter.

Tip #2: My mother always stirs in a bit of extra melted butter into her pancake batter, to make them extra moist. I haven’t done that in this recipe, but i’m guessing it would work well for all pancake recipes. Let me know how it goes if you decide to try it!

Tip #3: You can always add even thicker banana chunks, other berries or fruit (or even chocolate chips!) to the batter right before frying, to give the pancakes a little something extra. I haven’t done that for this recipe before, but I imagine it also works well with all pancake recipes. If you dare to try this too, let me know how it goes and comment below!

Quick Breakfast Tacos!

If there is anything I love about the US, it's definitely the food.

It's time to celebrate National Taco Day in the US today! While the taco is usually more associated with Mexico, the breakfast taco is actually a Texan creation. It's one Texans are pretty darn proud of too (rightly so, they're legit!). Why aren't there any restaurants in Stockholm with breakfast tacos? (Or, are there? Hit me up if you have an inside scoop.) Until then, I'm getting pretty darn good at making my own.

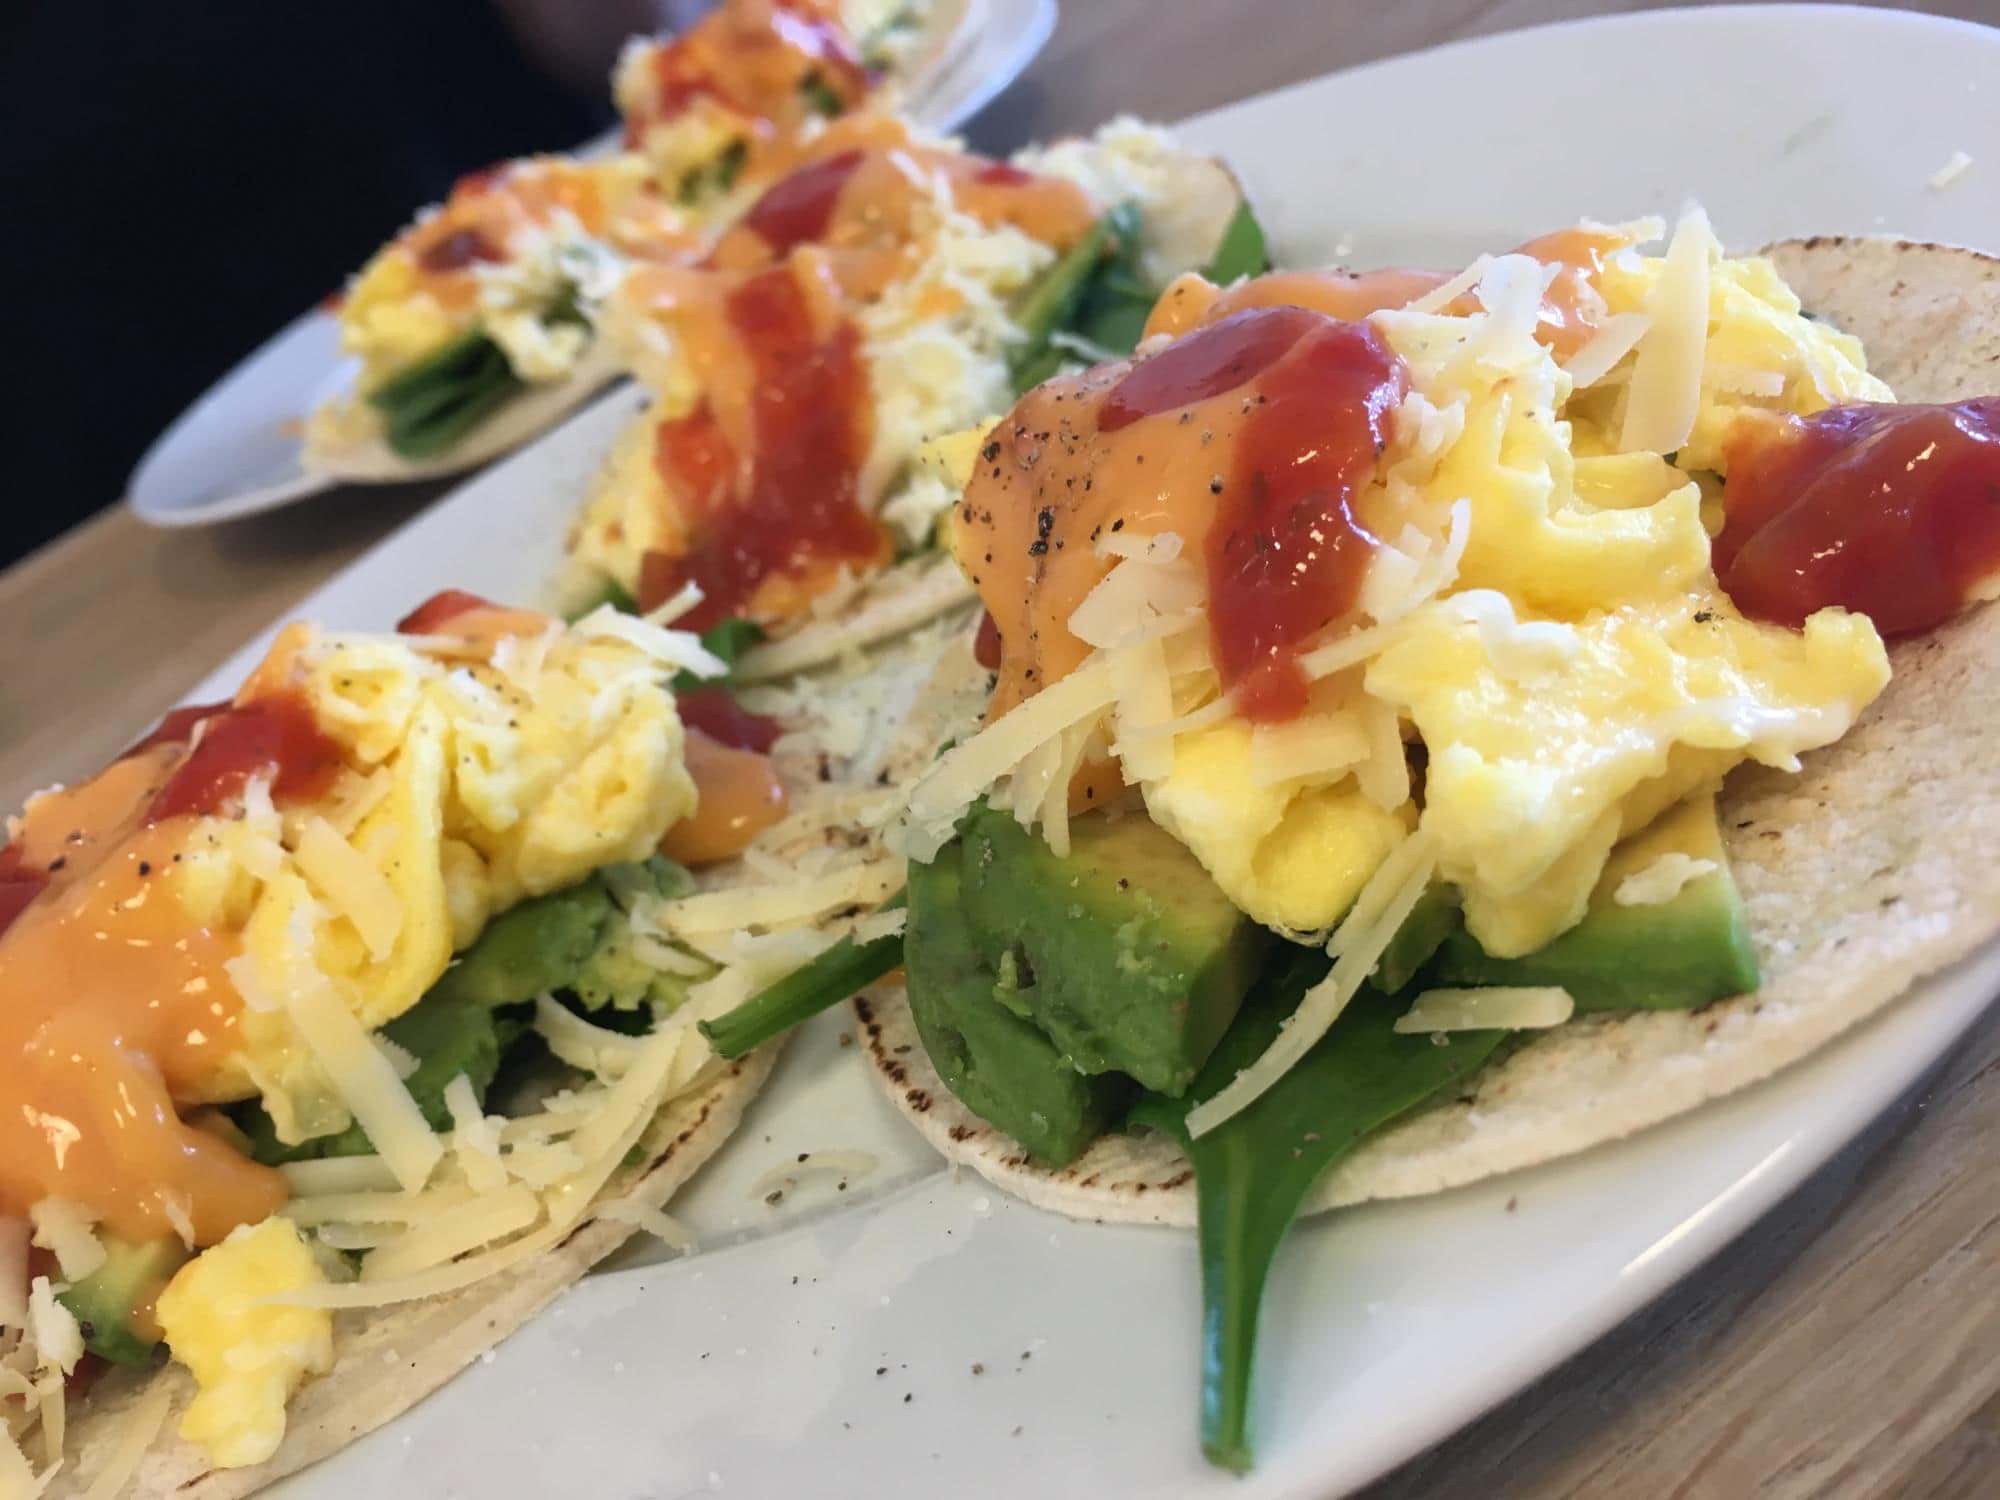
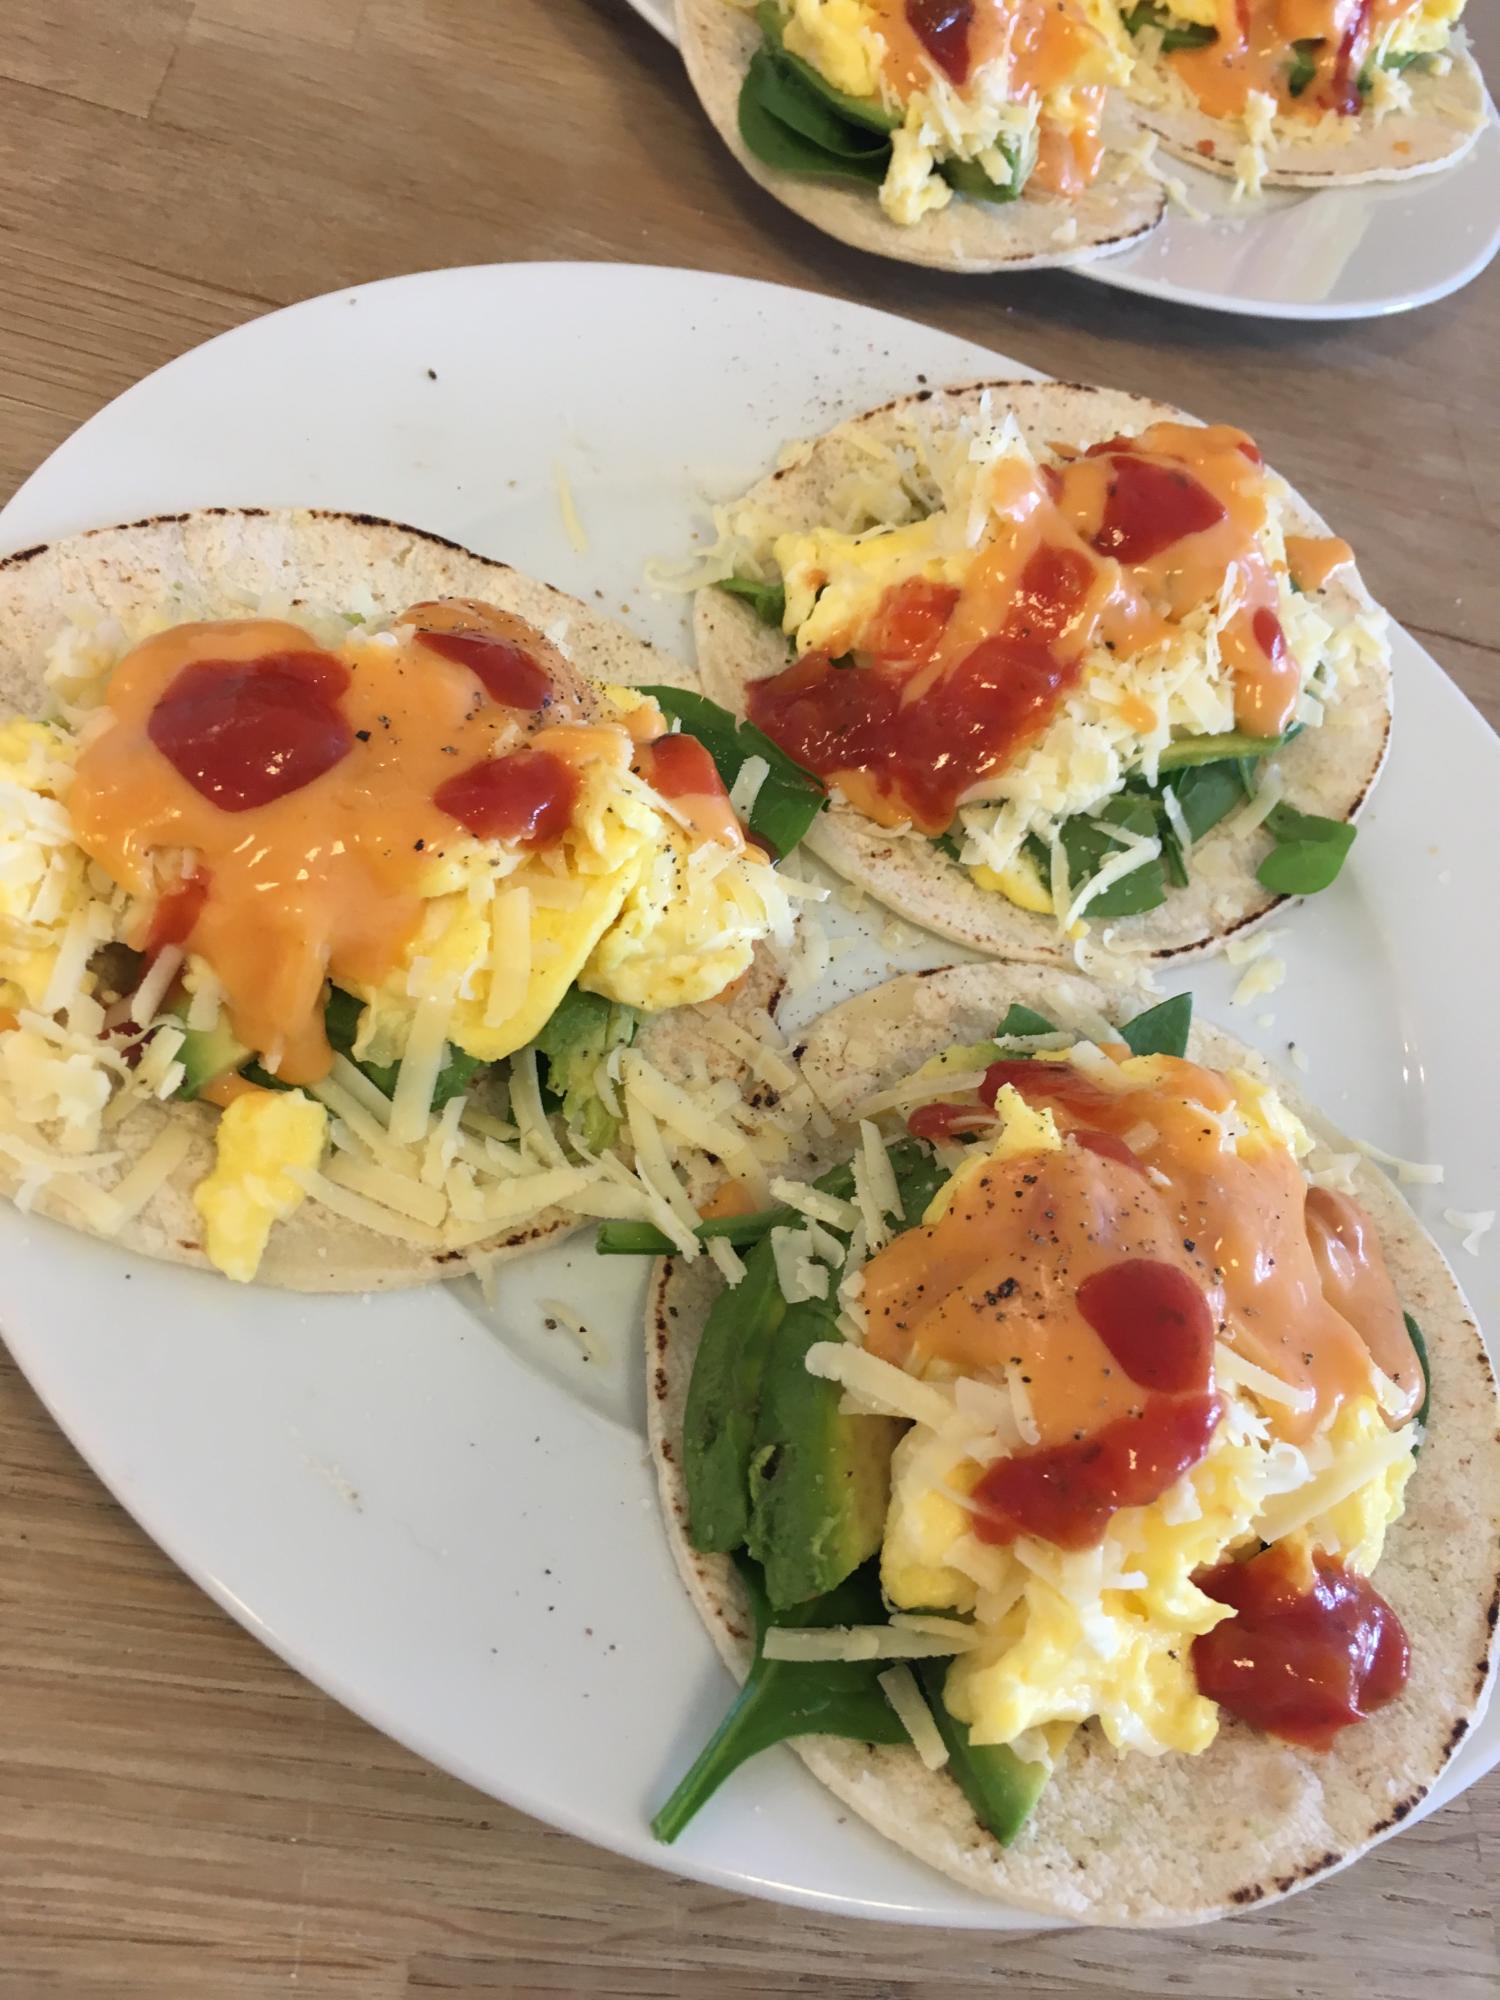
My sister is still in town today, so I surprised her with a quickly made impromptu breakfast taco trio. I totally just threw them together with ingredients already on hand. No real recipe needed!

Today's quick tacos were made with:

Normally, if it was a weekend (and I had a little more time on my hands) I would have probably made some turkey bacon or sausage for in them as well.

There are millions of variations on the breakfast taco. Just put in what you like and find a good combination that works best for you! 💖🌮💖